Converting a Wifi router to an AP
For the longest time the wireless at my place has been lackluster at best. Even though the wireless network has been mostly stable, the bandwidth has never impressed. With twelve different 2,4GHz networks crowding the spectrum it’s no wonder performance is not top notch. Meanwhile, the 5GHz band is quite a lot better at just five networks. Most of my devices that would benefit from the upgrade support 802.11ac wireless, so the upgrade plan is clear, 5GHz here we come!
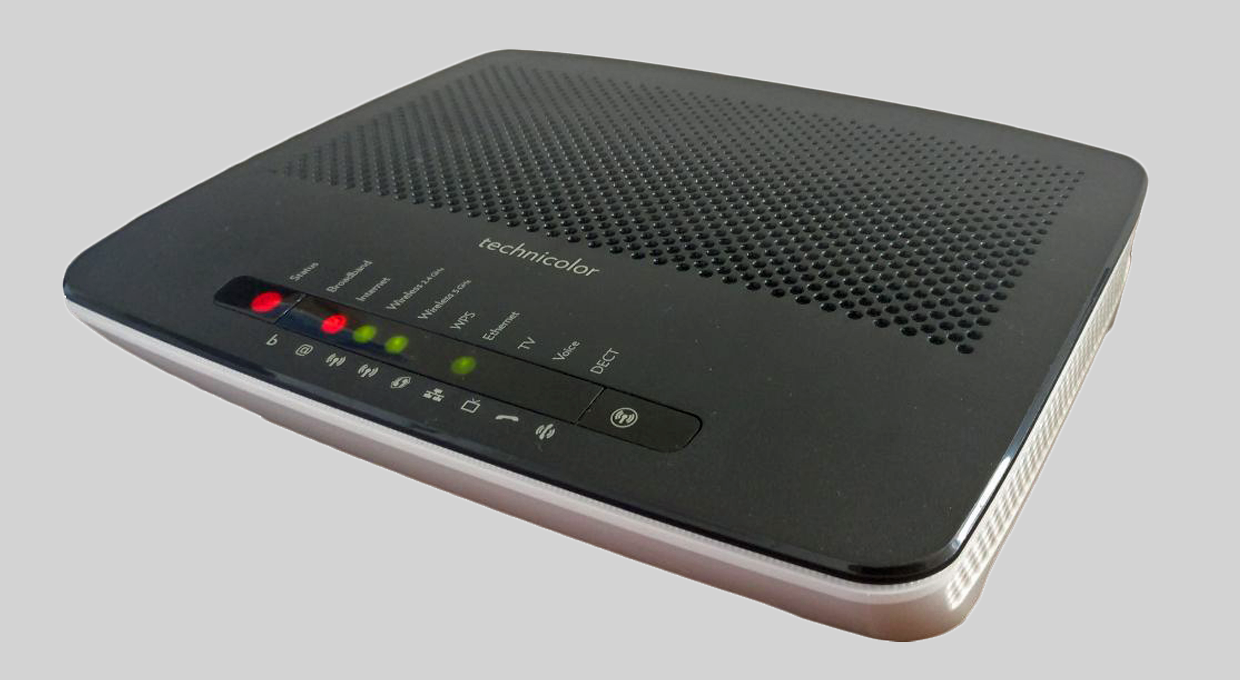
But what Access Point (AP) should one choose? In my case it came down to price, and nothing beats the price of free. A friend generously provided an unused ISP router he had lying around, and a router can be converted to an AP with relative ease. The router to replace my aging Dovado Doma router, that I’d been using as an AP previously, would be a Telia branded Technicolor TG799vac. From the start I already know it certainly won’t be the best AP around, but at least it will be a step up from the previous and the process will be interesting.
Of course this project would be too simple if I just accepted the default firmware provided. Let’s take a look at how to gain more control over our router and unlock some of it’s more advanced features.
Updating firmware
Let’s get started, just plug it to a network and let it do it’s thing? No. I’m actually in luck that this is an older device that has not been online for quite some time. It is running firmware from 2015, which means from security standpoint it’s horribly outdated. And that’s good for us, for now. I used a utility called AutoFlashGUI to gain root access to the router. However the firmware flashing part did not seem to work, my guess is that the files I had were not compatible with this specific hardware revision.
Now that we have root access we should be able to update the router by ourselves. The reason why we don’t want it to update automatically is because, to my knowledge, no one has yet found a way to gain root access on the latest firmware. So we’ll stay a version or few behind.
After some searching I found the firmware I was looking for. Henrik Tjäder (@AfoHT on GitHub) had captured the firmware files while updating his router. I updated my router first to 16.2 and then to 17.2 using the sysupgrade command.
# Put the file on a FAT32 formatted USB drive and plug it to the router

cd /mnt/                  # press tab until you reach your USB drive
cp filename.rbi /tmp      # copy file to ram
cd /tmp                   # change to tmp directory
sysupgrade filename.rbi   # upgrade
A better GUI and other tweaks to the configuration
Once on firmware 17.2 I regained root using wuseman’s method. I customized a few things from his scripts, mainly regarding ssh. I’ll never need ssh access on the wan interface for example. I also replaced the default Telia branded GUI with Ansuel’s more powerful one.
# Since this router was not connected to the internet during setup, the
# file needed to be downloaded on another computer

https://repository.ilpuntotecnico.com/files/Ansuel/AGTEF/GUI.tar.bz2

# As previously detailed, I put the file on a USB drive and copied the file to /tmp
# The following command installs the GUI and then reboots the router

bzcat /tmp/GUI.tar.bz2 | tar -C / -xvf -; /etc/init.d/rootdevice force; reboot
Next I disabled everything I would not need when this device would work as an AP. No samba server, no mobile broadband support, no printer sharing, no DHCP etc. At this point I also set up my wireless networks the way I wanted them to be after the process would be completed. Changing the router’s IP address turned out not to work in the GUI and I also wanted to delete some unused wireless networks for guests that were also not removable from the GUI. Because we have root access and the router runs, for the most part at least, standard OpenWRT, we should not encounter too much trouble.
cd /etc/config  # change to configuration directory
vim network     # edit network configuration usim vim

# The subnet options are found under "config interface 'lan'"
# change "option ipaddr '192.168.1.1'" to whatever address that suits your network.
# Remeber to also change the netmask if not using the /24 subnet

vim wireless    # edit wireless configuration

# From the wireless configuration I erased all the unused "config wifi-ap 'apX'"
# sections as well as things referring to those sections not used by my own
# networks. While I was here, I also verified the wireless security modes and
# keys I had set up earlier
As a note, for some reason the command
/etc/init.d/network reload
does not work on this router and results in the system hanging, so instead I just rebooted the router, and voilà! We now have a configured router ready to be installed.
Hooking up the AP and testing with iPerf
For change, this part could not have be simpler. I plugged Lan1 of the TG799VAC in to my own Mikrotik RB3011 router and let the DHCP server handle the clients. For performance testing I used the standard iPerf package. I downloaded version 3.1.3 windows binaries and started a server in PowerShell with the command
.\iperf3.exe -s
For the client I used my 802.11ac compatible phone with Hurricane Electrics Network Tools which provided an iPerf3 client. For the test I used TCP IpV4 with transfer size of 100M. Let’s take a look at how the old 802.11n AP performed.

The result of on average 37.7 Mbit/s of transfer is certainly enough for streaming video on mobile devices, but larger downloads on laptops and local traffic to and from my home server could still benefit from more bandwidth. This old AP was also a bottleneck for my wireless devices, since my normal download speed from the web is slightly under 80 Mbit/s. Now let’s switch on over to the new AP.
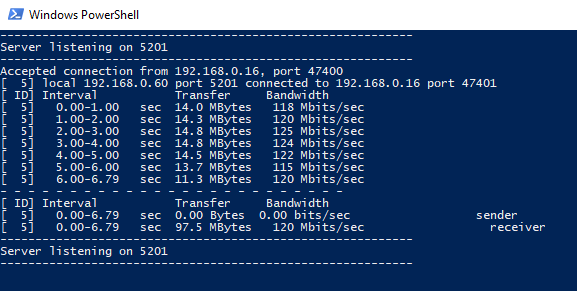
120 Mbit/s! Over three times the bandwidth is quite an improvement. The AP no longer bottlenecks my internet and overall the network feels more snappy. I did not measure the latency on the old network, but on this new one the ping time to the gateway is just under 3ms which I suspect is at least a bit lower than it previously was. Overall I’d say this project was a great success. It was an interesting process with many learning opportunities and I also got a better wireless experience in the process.
Thanks for reading!